
Why a DIY Bathroom Floor Replacement Guide Matters
A bathroom makeover doesn’t always require a contractor. With this DIY bathroom floor replacement guide, you’ll discover how simple, affordable, and satisfying it can be to replace your own flooring. Instead of spending thousands, you can follow clear step‑by‑step instructions to transform your bathroom into a fresh, modern space you’ll be proud of.
Preparation Before You Begin
Tools and Materials You’ll Need
Make sure you have these ready:
- Hammer and chisel
- Utility knife
- Measuring tape and pencil
- Instant cement or floor adhesive
- New tiles or vinyl flooring
- Gloves and mask
Choosing the Right Flooring Material
- Ceramic Tiles: Durable, classic, easy to clean.
- Vinyl: Affordable, quick to install, wide variety of designs.
- Epoxy: Modern, waterproof, perfect for a minimalist look.
Step-by-Step Floor Replacement
1. Clear the Bathroom Area
Remove all items from the bathroom. Think of it as preparing a blank canvas before painting.
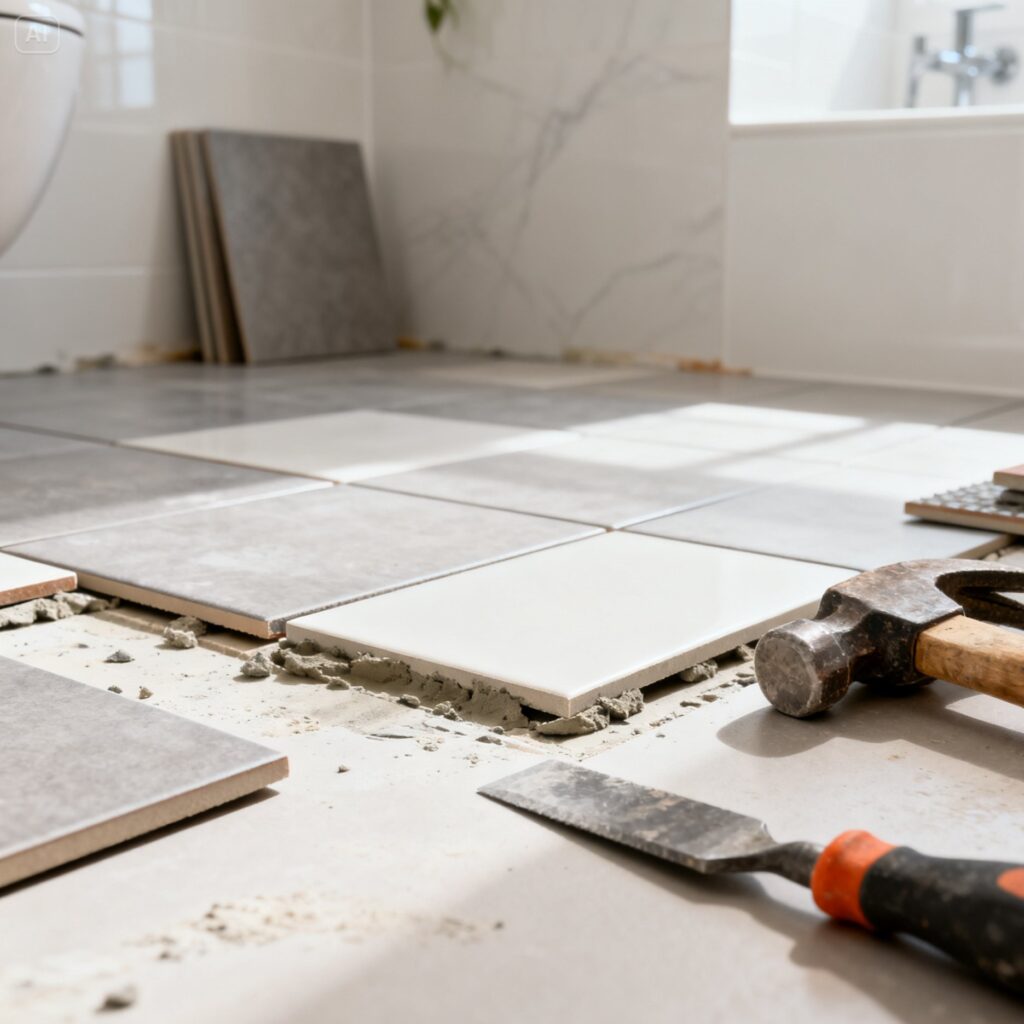
2. Remove the Old Floor
Use a hammer and chisel to lift the old flooring. It may be tiring, but imagine it as opening a new chapter for your home.
3. Level the Surface
Once the old floor is gone, smooth the surface with a thin layer of cement. A flat base is essential for a flawless finish.
4. Measure and Cut New Materials
Use a measuring tape to ensure accuracy. Cut tiles or vinyl to fit the bathroom layout. Precision is everything here.
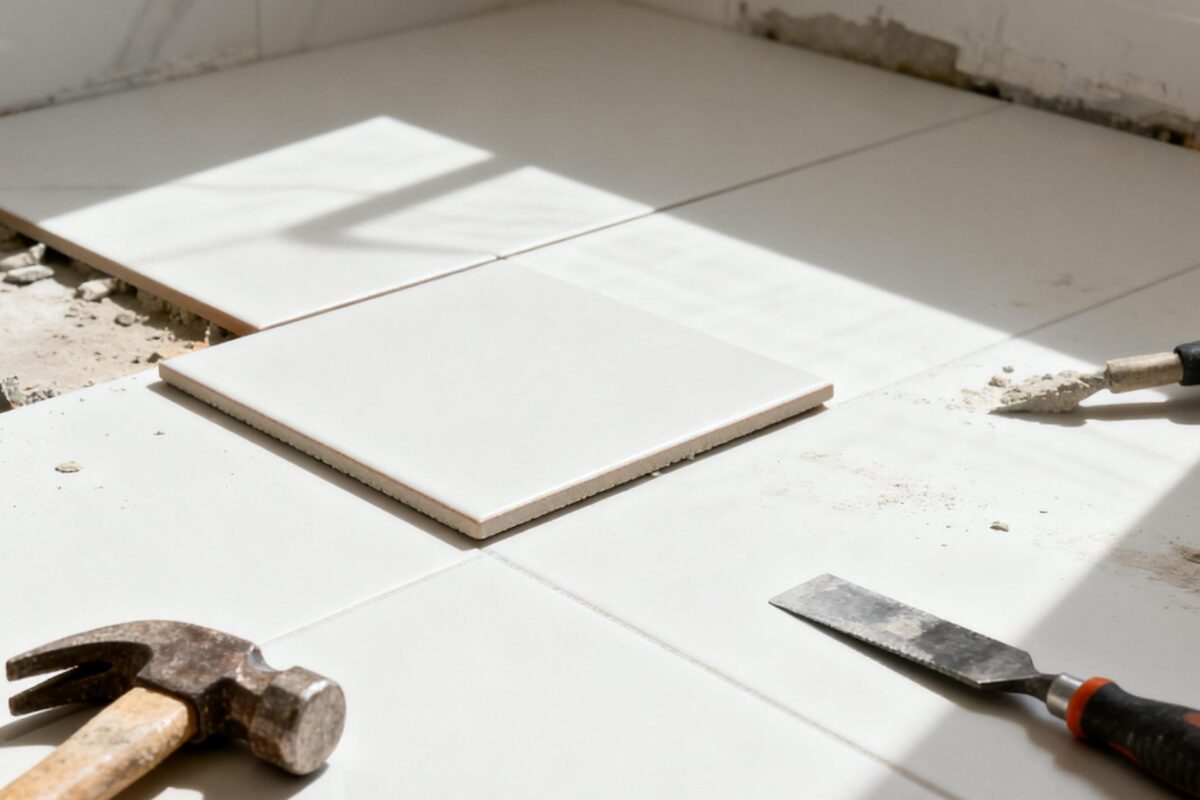
5. Install the New Floor
Apply adhesive or cement, then place the new flooring. Press gently to secure it. It’s like fitting puzzle pieces perfectly together.
6. Finishing and Cleaning
Clean off excess cement or adhesive. Let the floor dry for at least 24 hours before using the bathroom.
Extra Tips for the Best Results
Pick the Right Color
Light colors make the bathroom feel larger, while darker tones add elegance.
Use Waterproof Sealant
Sealant protects the floor from water damage and extends its lifespan.
Ensure Proper Ventilation
Good airflow prevents excess moisture and mold growth.
Common Mistakes to Avoid
Skipping Surface Leveling
Uneven surfaces can cause cracks.
Using Cheap Adhesive
Low-quality adhesive makes flooring come loose quickly.
Rushing to Use the Bathroom
Patience is key let the floor dry completely.
Estimated DIY Costs
Cost Comparison
- Standard ceramic tiles: $10 – $17 per sq. ft.
- Vinyl: $7 – $15 per sq. ft.
- Epoxy: $15 – $30 per sq. ft.
Benefits of Doing It Yourself
Save Money
Cut labor costs by up to 50%.
Personal Satisfaction
There’s pride in seeing the results of your own effort.
Design Flexibility
Choose patterns and styles that match your taste.
Conclusion
Replacing your bathroom floor yourself is absolutely doable. With this step-by-step guide, you can transform your bathroom into a fresher, more modern, and comfortable space. Success lies in preparation, patience, and attention to detail. So, are you ready to take on this DIY project this weekend?
FAQ
1. Is DIY bathroom flooring suitable for beginners? Yes, as long as you follow the steps carefully and use the right tools.
2. How long does the replacement process usually take? Around 1–2 days, depending on bathroom size and material type.
3. Is vinyl better than ceramic tiles? Vinyl is easier to install, but ceramic tiles last longer.
4. Can vinyl be installed directly over the old floor? Yes, if the old floor is clean and even.
5. Do I need professional help for a large bathroom? For bigger spaces, hiring help can speed up the process, but DIY is still possible.